
Daniel on Safari: Wildlife Photography in East Africa: my personal take!

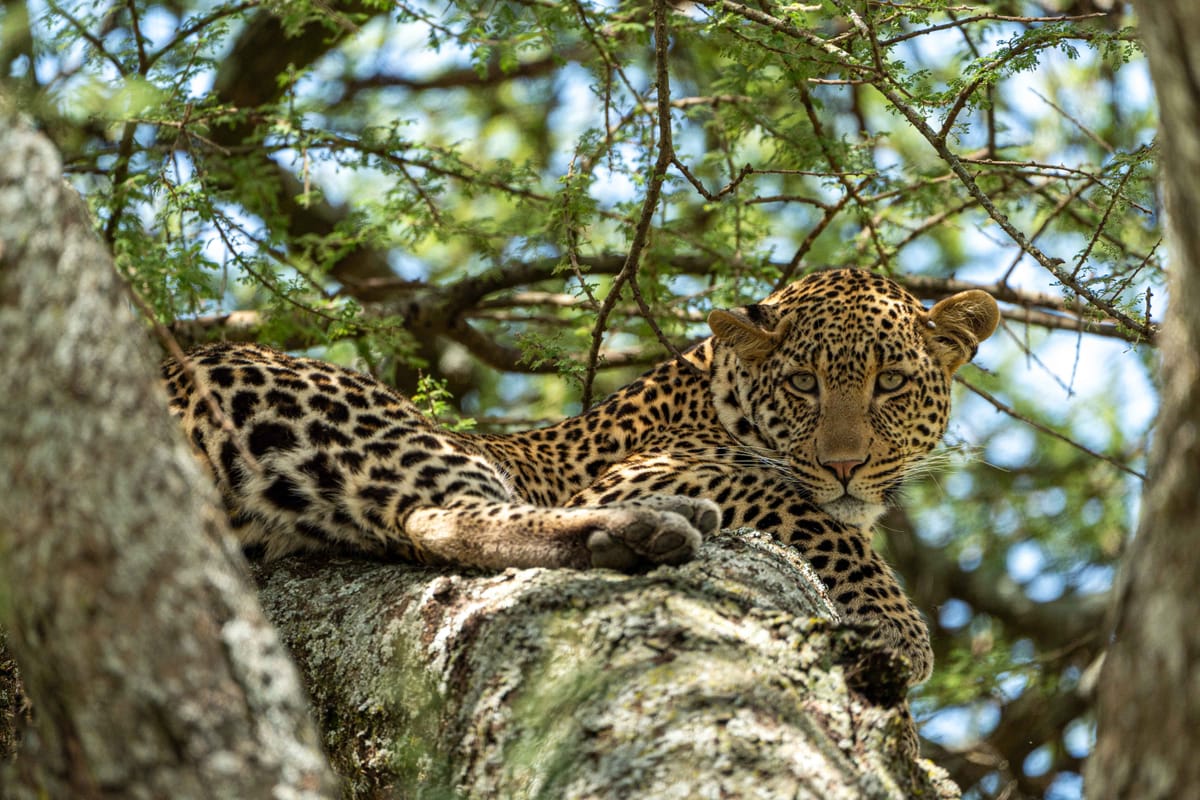
Three weeks in Kenya, Tanzania and Zanzibar with the Sony A7 III. On choosing a lens, reading animal behaviour, and how a cheetah gave me a vivid answer on what the correct focal length was.*
The Preparation
For me, the discussion before a trip like this isn't about hotels, it's about focal lengths, and the obvious temptation to make do with what you have - "my 17–70 will do". A common misconception, as animals on safari are rarely as close as you imagine, and at 70 mm the lion in the shade or the cheetah on the horizon becomes nothing more than a speck in the frame that even cropping can't rescue. That's why I rented the **Sony FE 200–600 mm f/5.6–6.3 G OSS**, for this trip of a lifetime.
I rarely use a 200–600 mm at home, but on this three-week safari I used it daily, which is why renting delivers exactly the right tool for the one trip at a fraction of the purchase price. Ideally with a rental period closely matched to the actual travel dates and a short-term equipment insurance, because sand, vibration and humidity are real risks.
The Real Art: Catching the Moment
The gear is only the entry ticket; the magic of the photo happens elsewhere, and the biggest difference between your average photo and a something that you will cherish for a lifetime isn't the lens but catching the right moment: whoever waits to grab the camera until something happens will be too late but if you anticipate the animals' behaviour and have the camera ready, aimed at the majestic beasts before the action begins, then you are in for a treat!
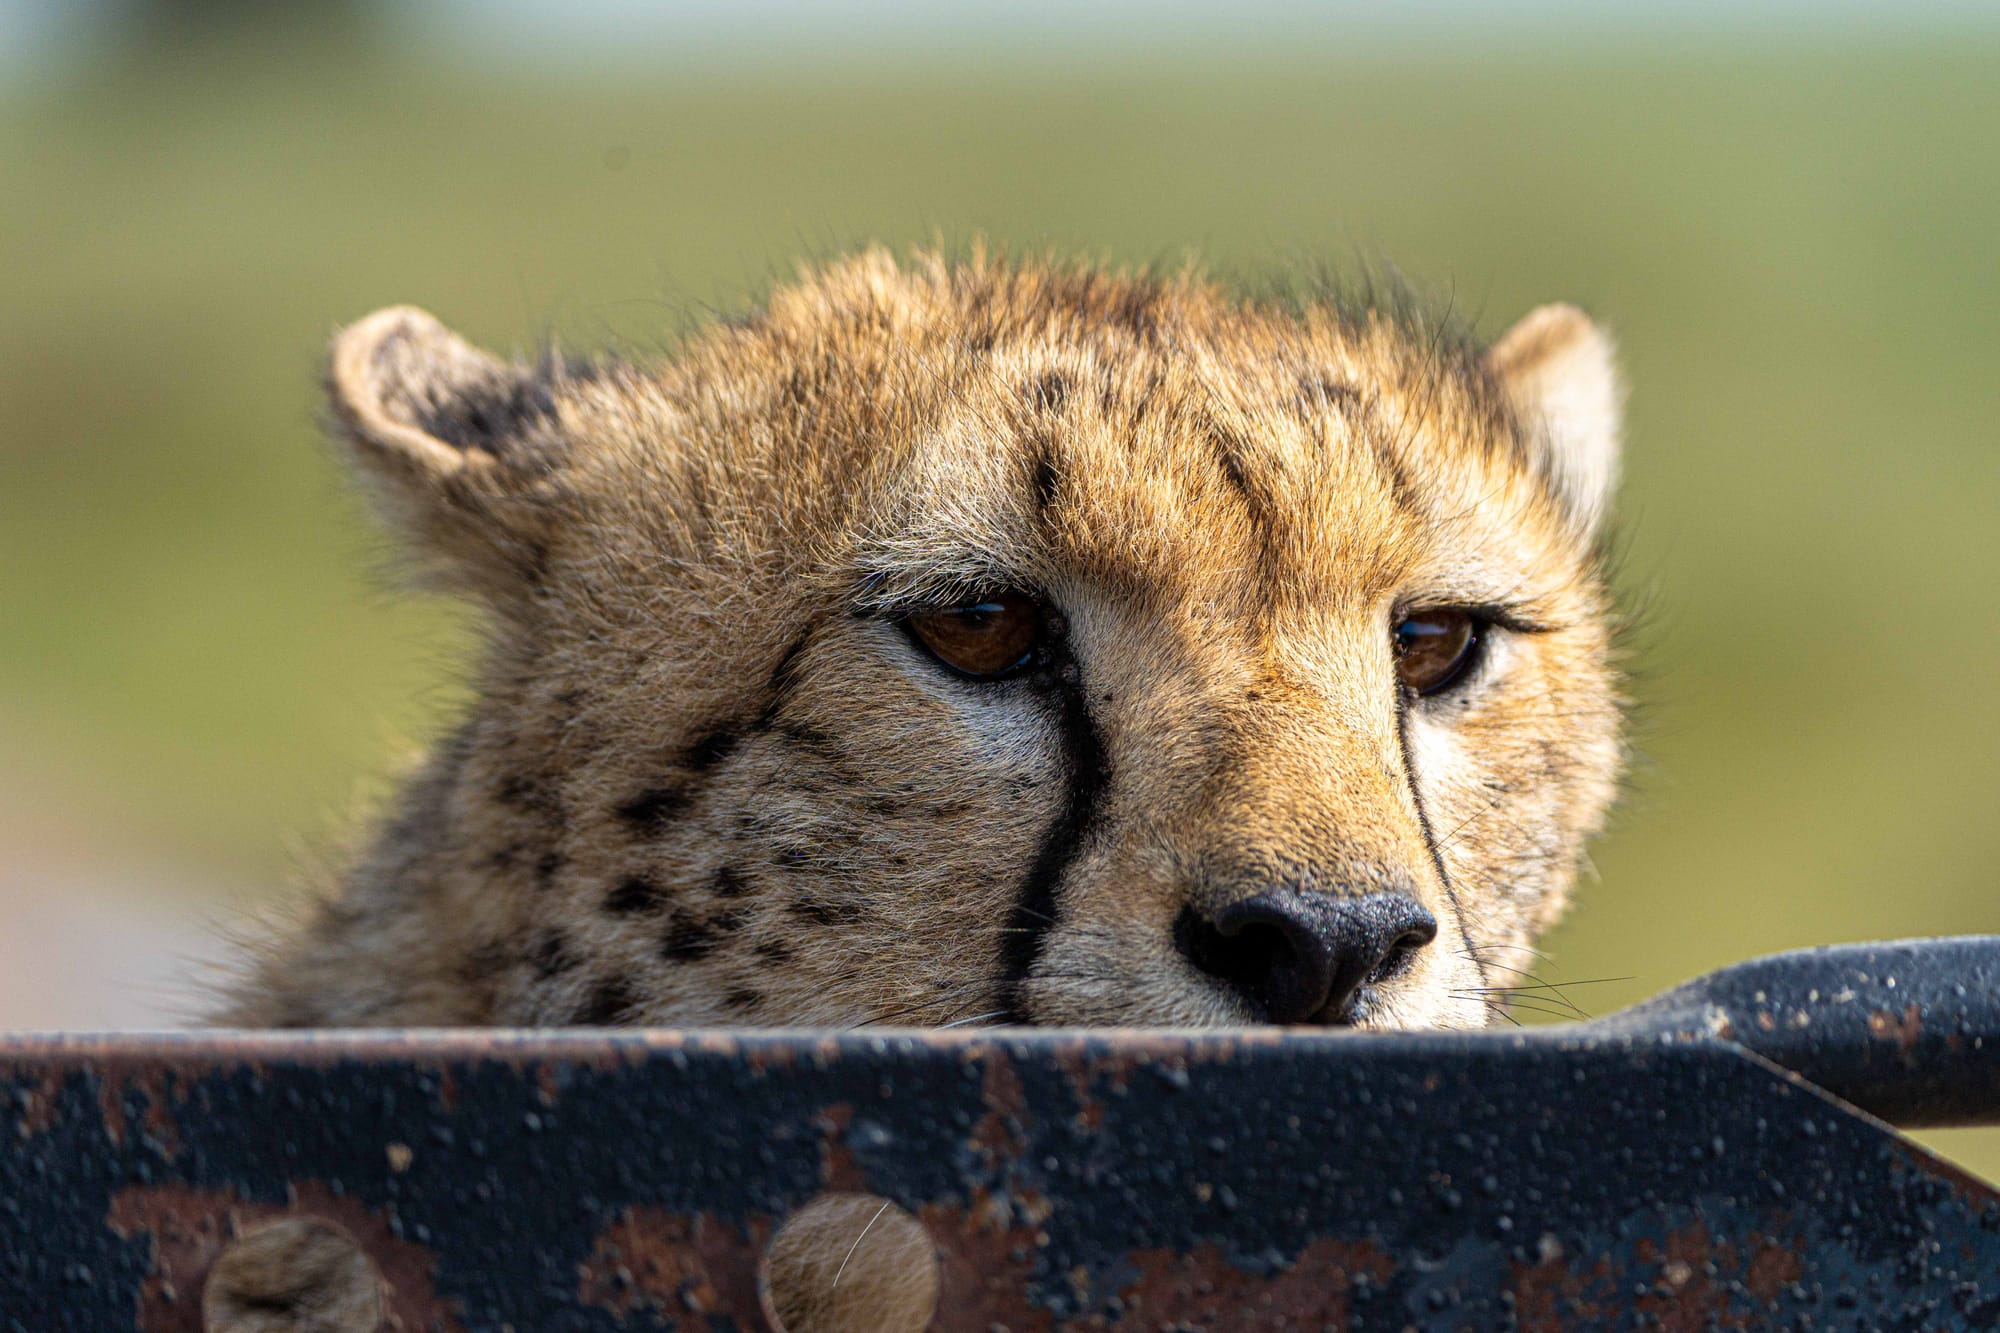
A Cheetah on the Hood
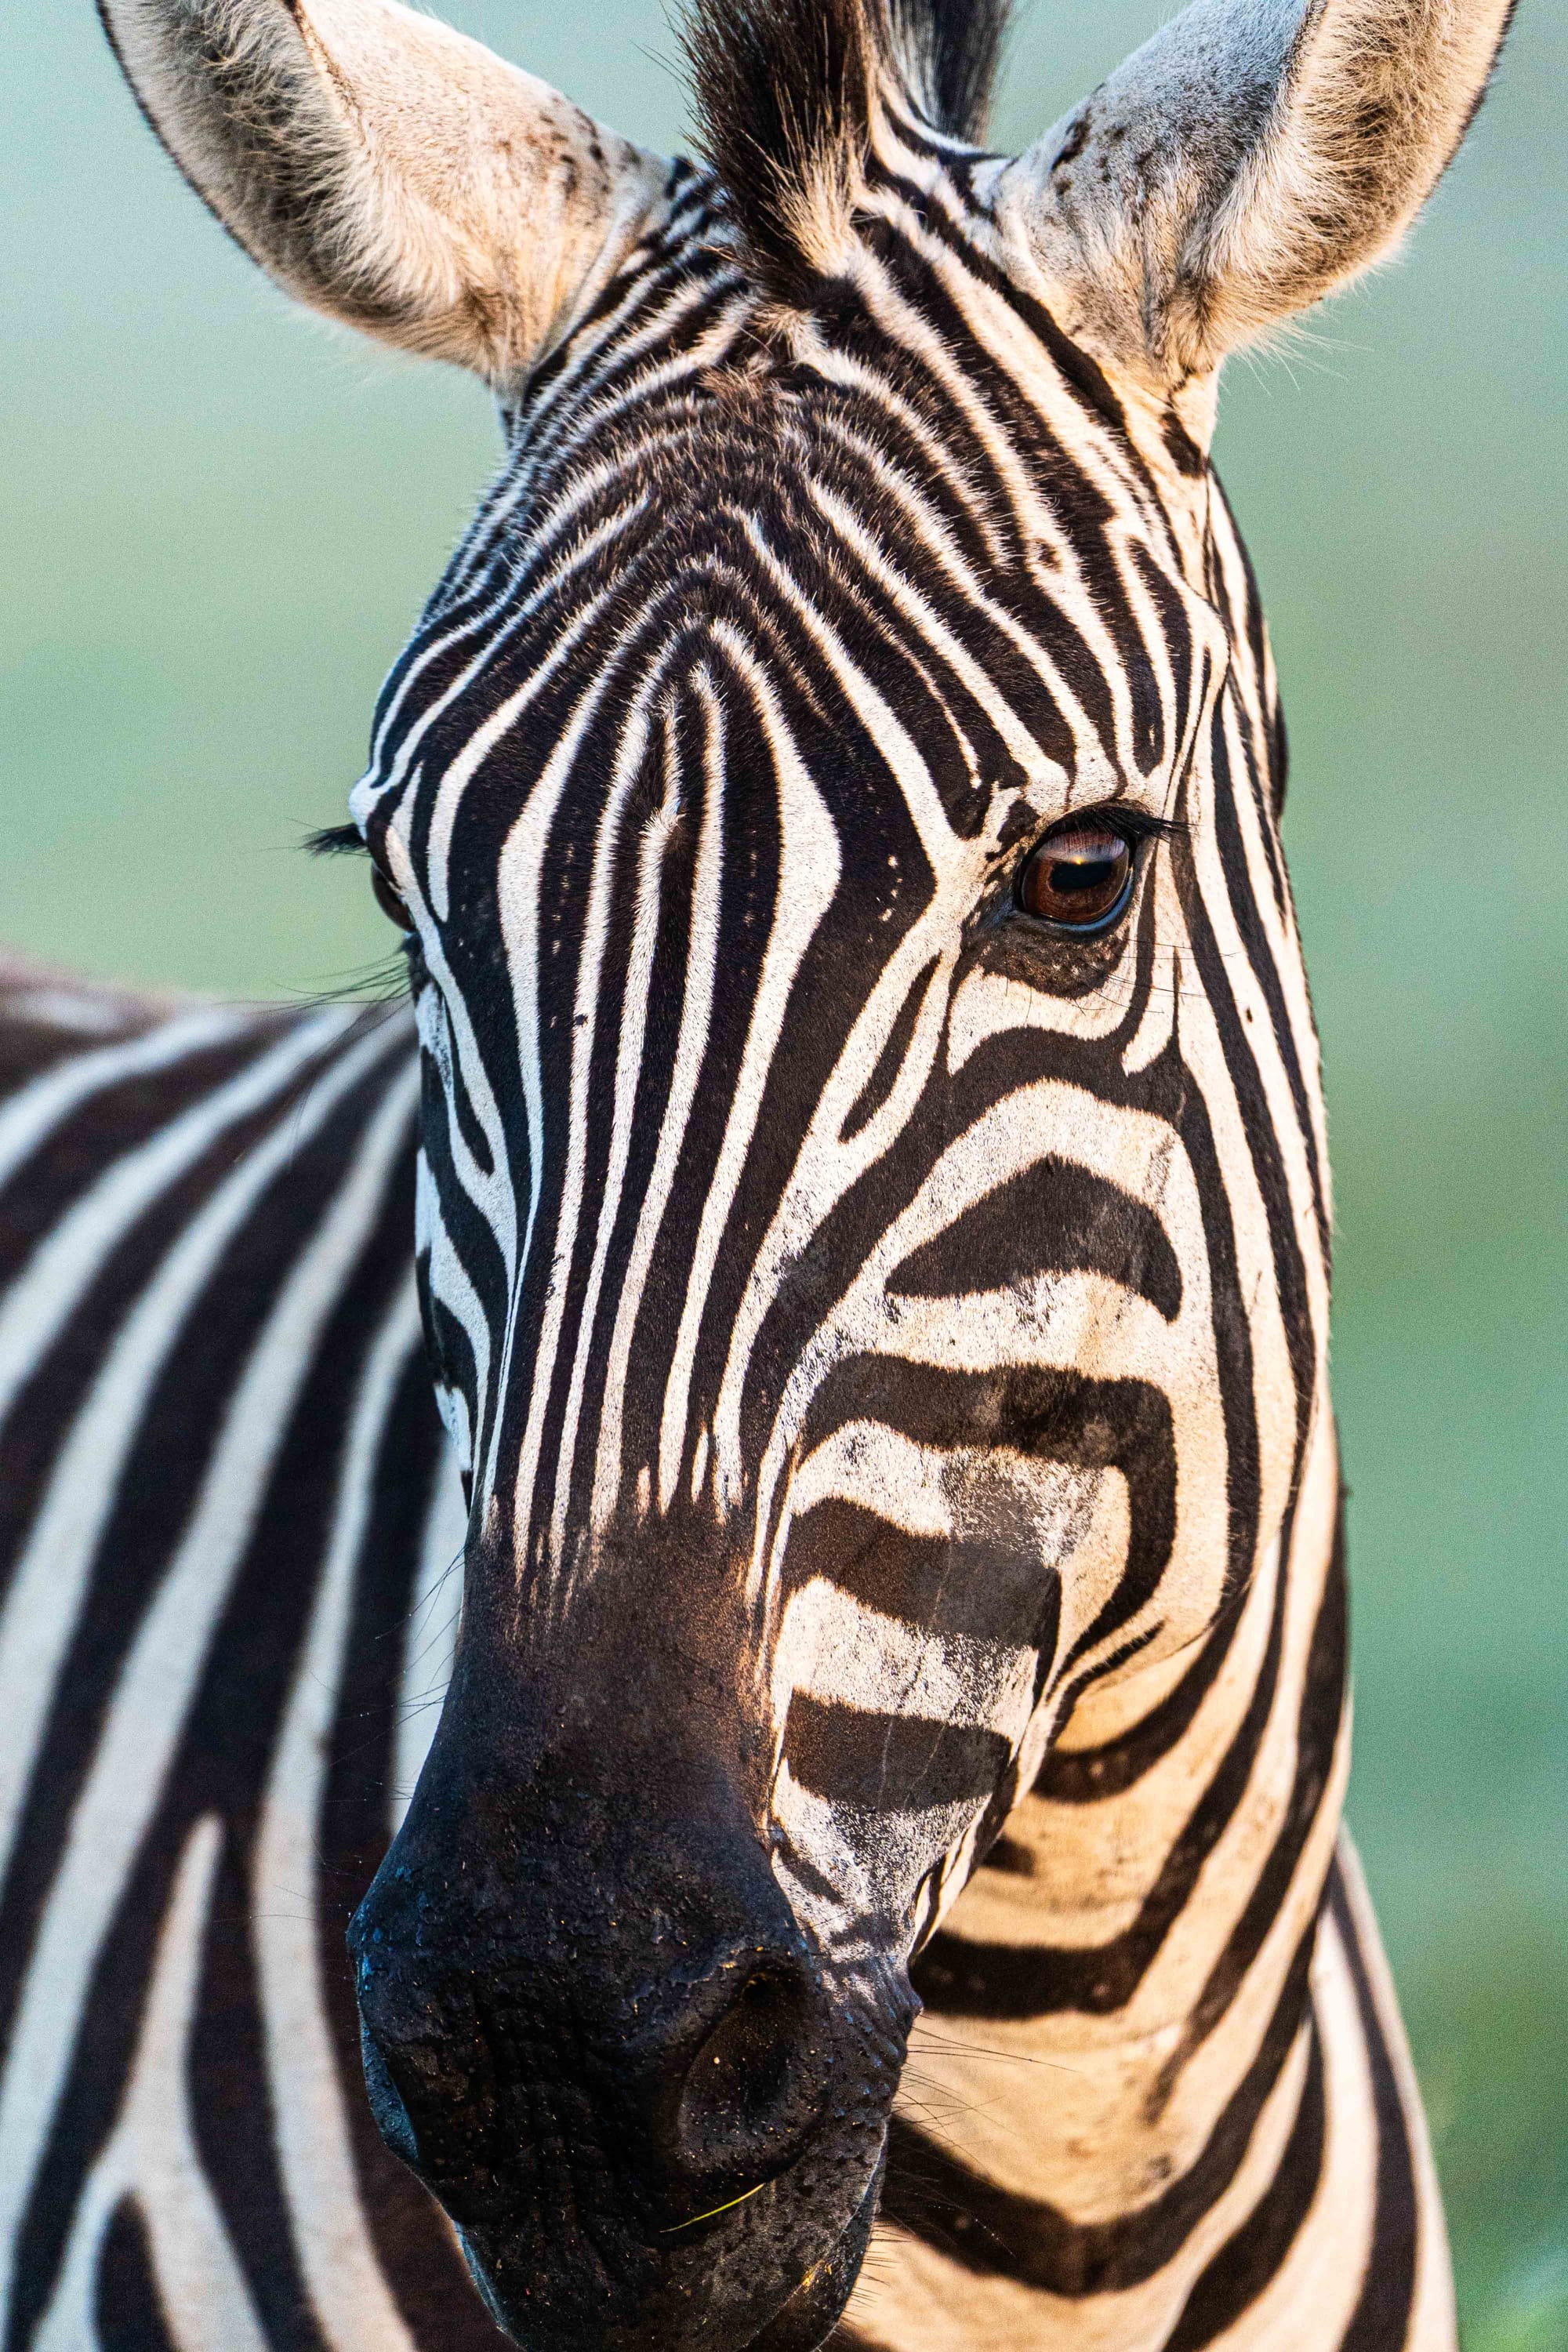
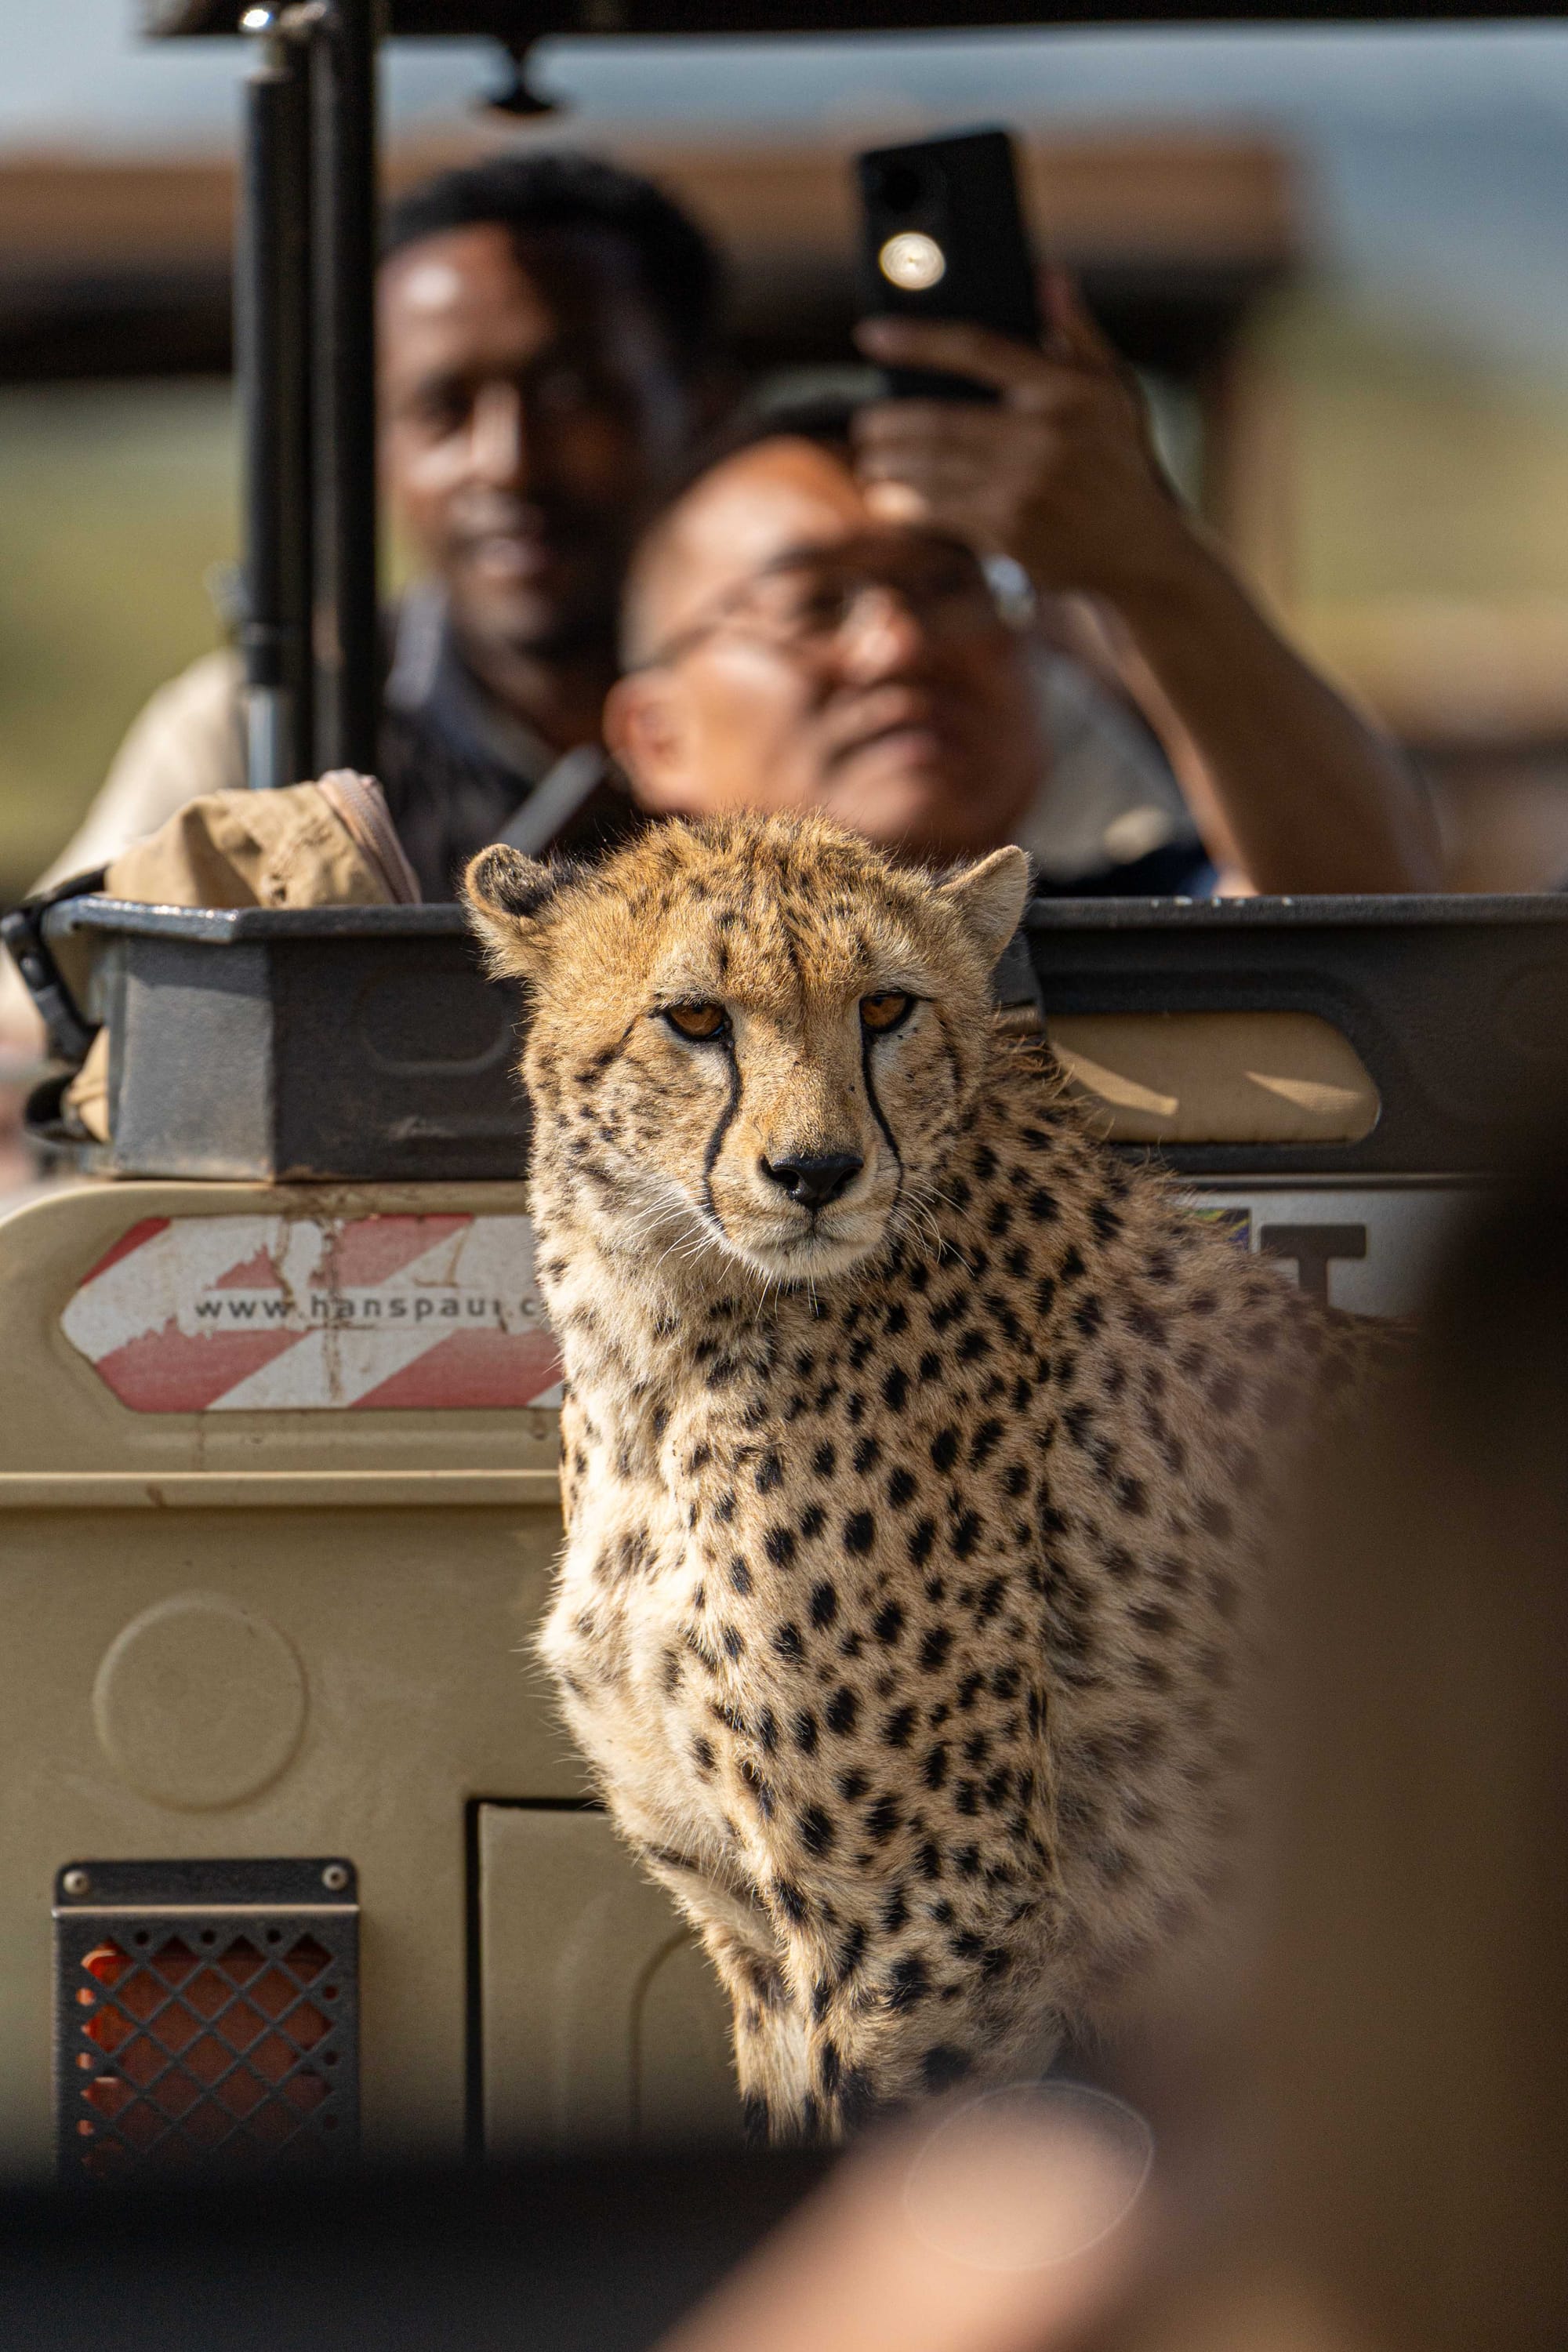
First he sat in the grass, then he stood up, and the next moment he was less than three metres away on the spare tyre of our 4x4 — pure adrenaline kicked in and I went to grab my camera but alas, my 200–600 mm was on my A7 III, fantastic for a cheetah 80 metres off but utterly useless for one sitting on your hood. I really should have changed lenses, but in moments like that you simply can't, not without destroying the scene and the animal's calm, so I worked with what was on the camera and shot details — the eyes, the fur, the gaze — that I'd never have got without that closeness. That's safari photography in one sentence: you can prepare as well as you like, but in the end what counts is whether you're ready, at the right moment, to work with what's in front of you.
150,000 Wildebeest: When Reach Hits Its Limits
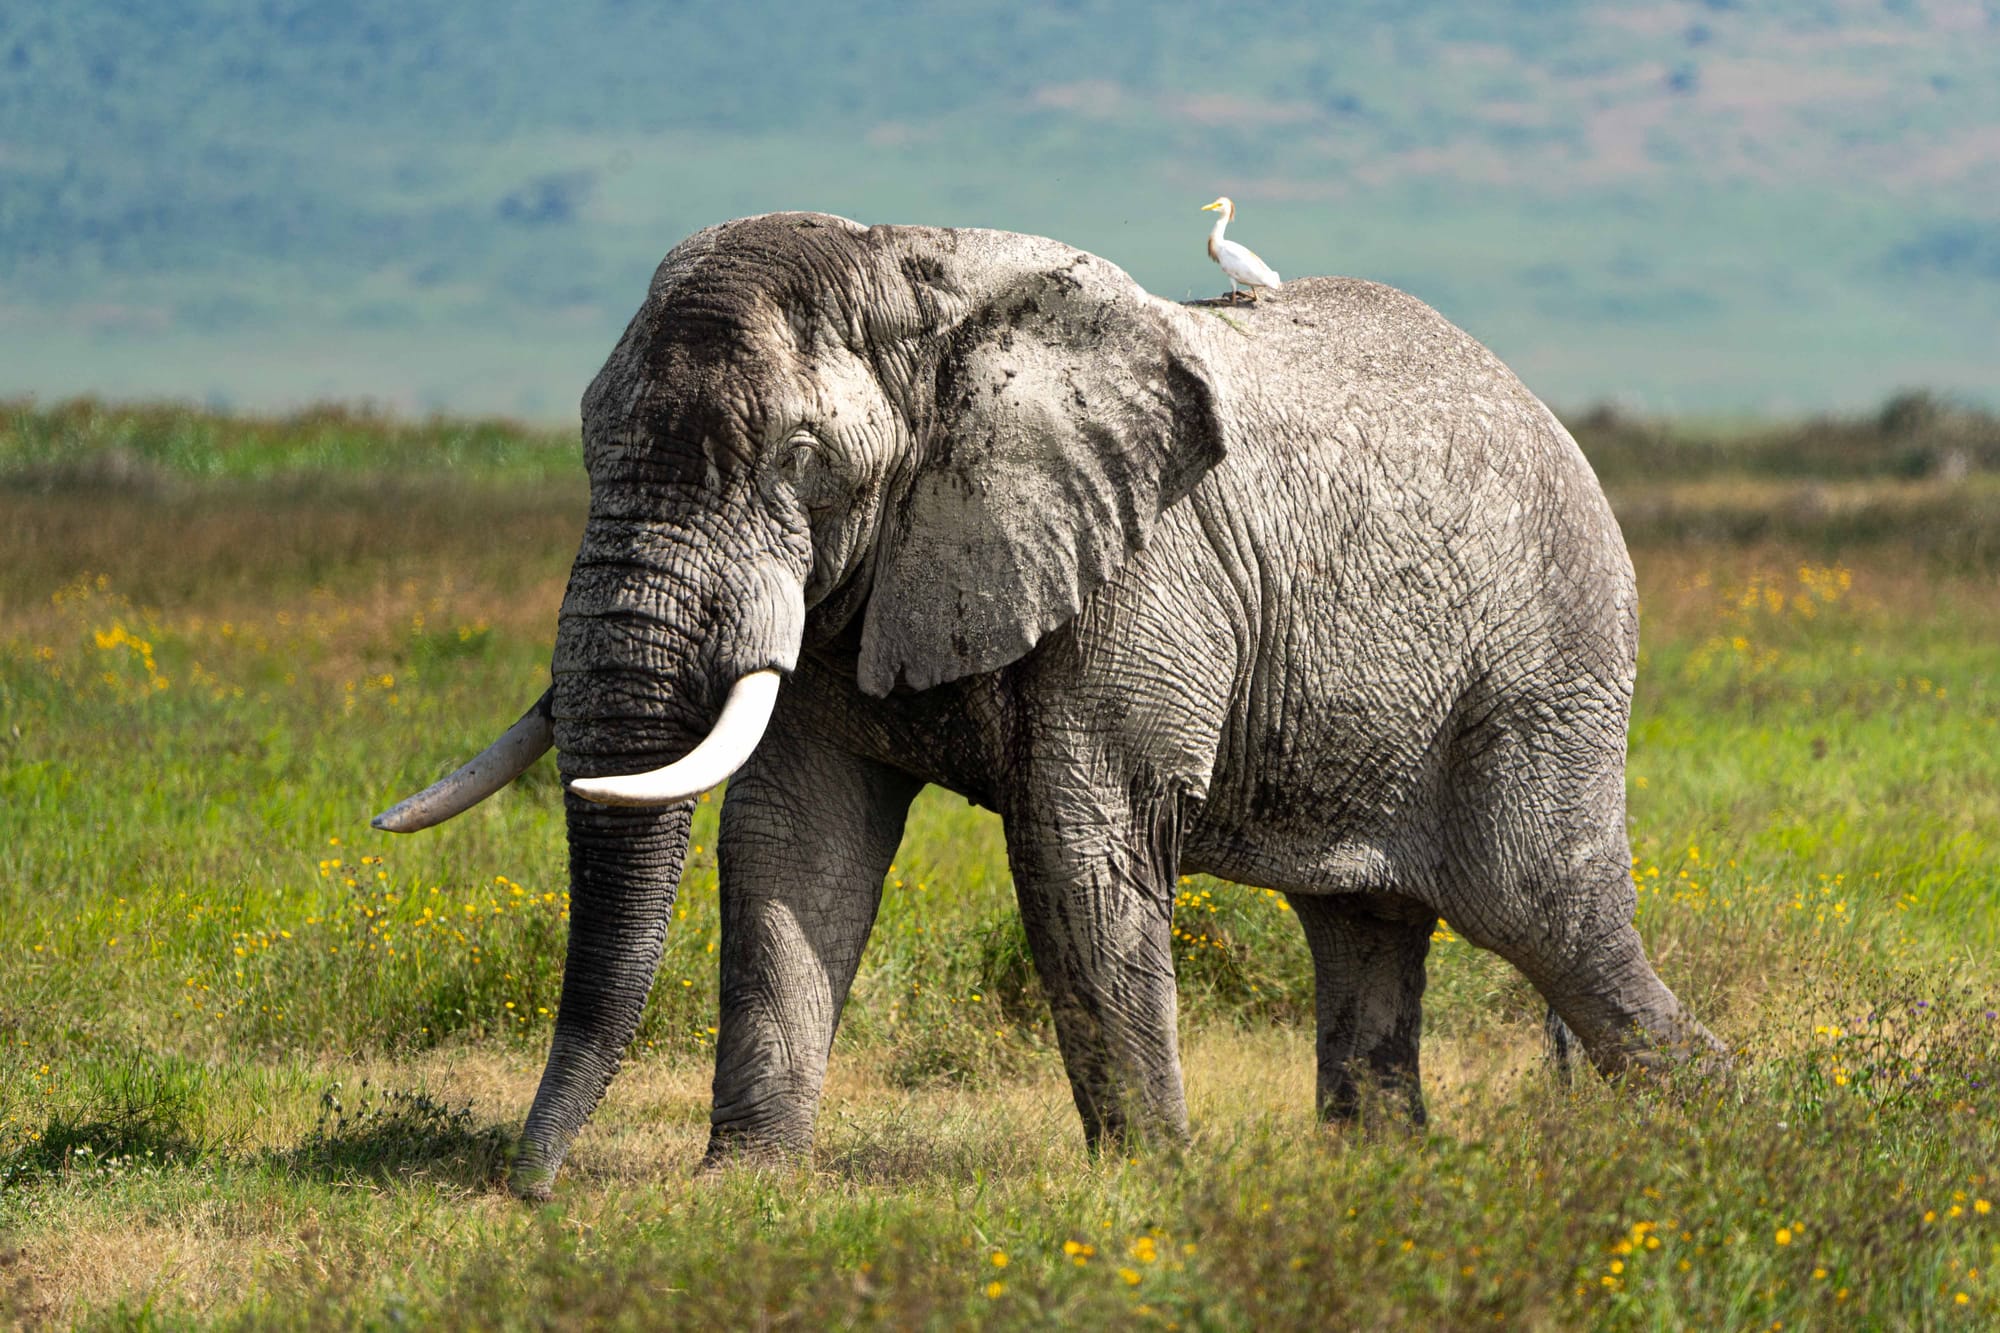
We experienced the opposite of the cheetah on the hood at the Great Migration, where our guide estimated around **150,000 wildebeest** — a number you only grasp once the animals stretch to the horizon and the ground vibrates — and here the 600 mm only helps so much, because the sheer mass, the vastness and the band of dust above the herd live on context, not on closeness. So I zoomed out wide and switched the way I told the story, from the isolated single portrait to the teeming wide shot with depth, and that's exactly the lesson: plan your lens for the animal portraits, but always keep a second, wider focal length in mind — even if it's just your smartphone — so the big scenes don't slip through your fingers.
Workflow on the Road
On a three-week trip thousands of RAWs pile up fast, which is why I did a rough pre-sort each evening, flagging the obvious keepers and leaving the rest for the big screen later, because whoever culls a little every day doesn't end up facing a huge mountain. For that I used the PhotoPicker app. On top of that I tracked the routes via GPS (Geo Tracker on the iPhone) to geotag every photo and bring order when sorting by location.
The Result and Sharing
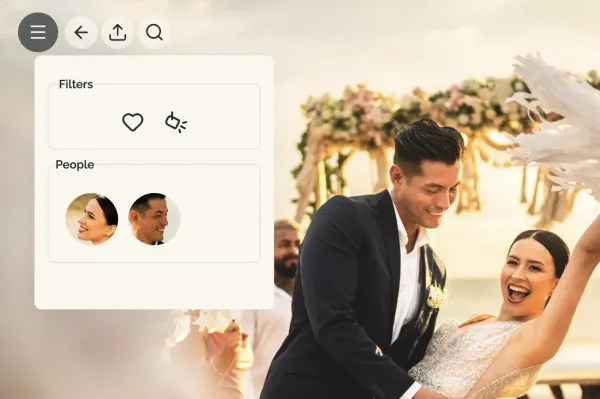
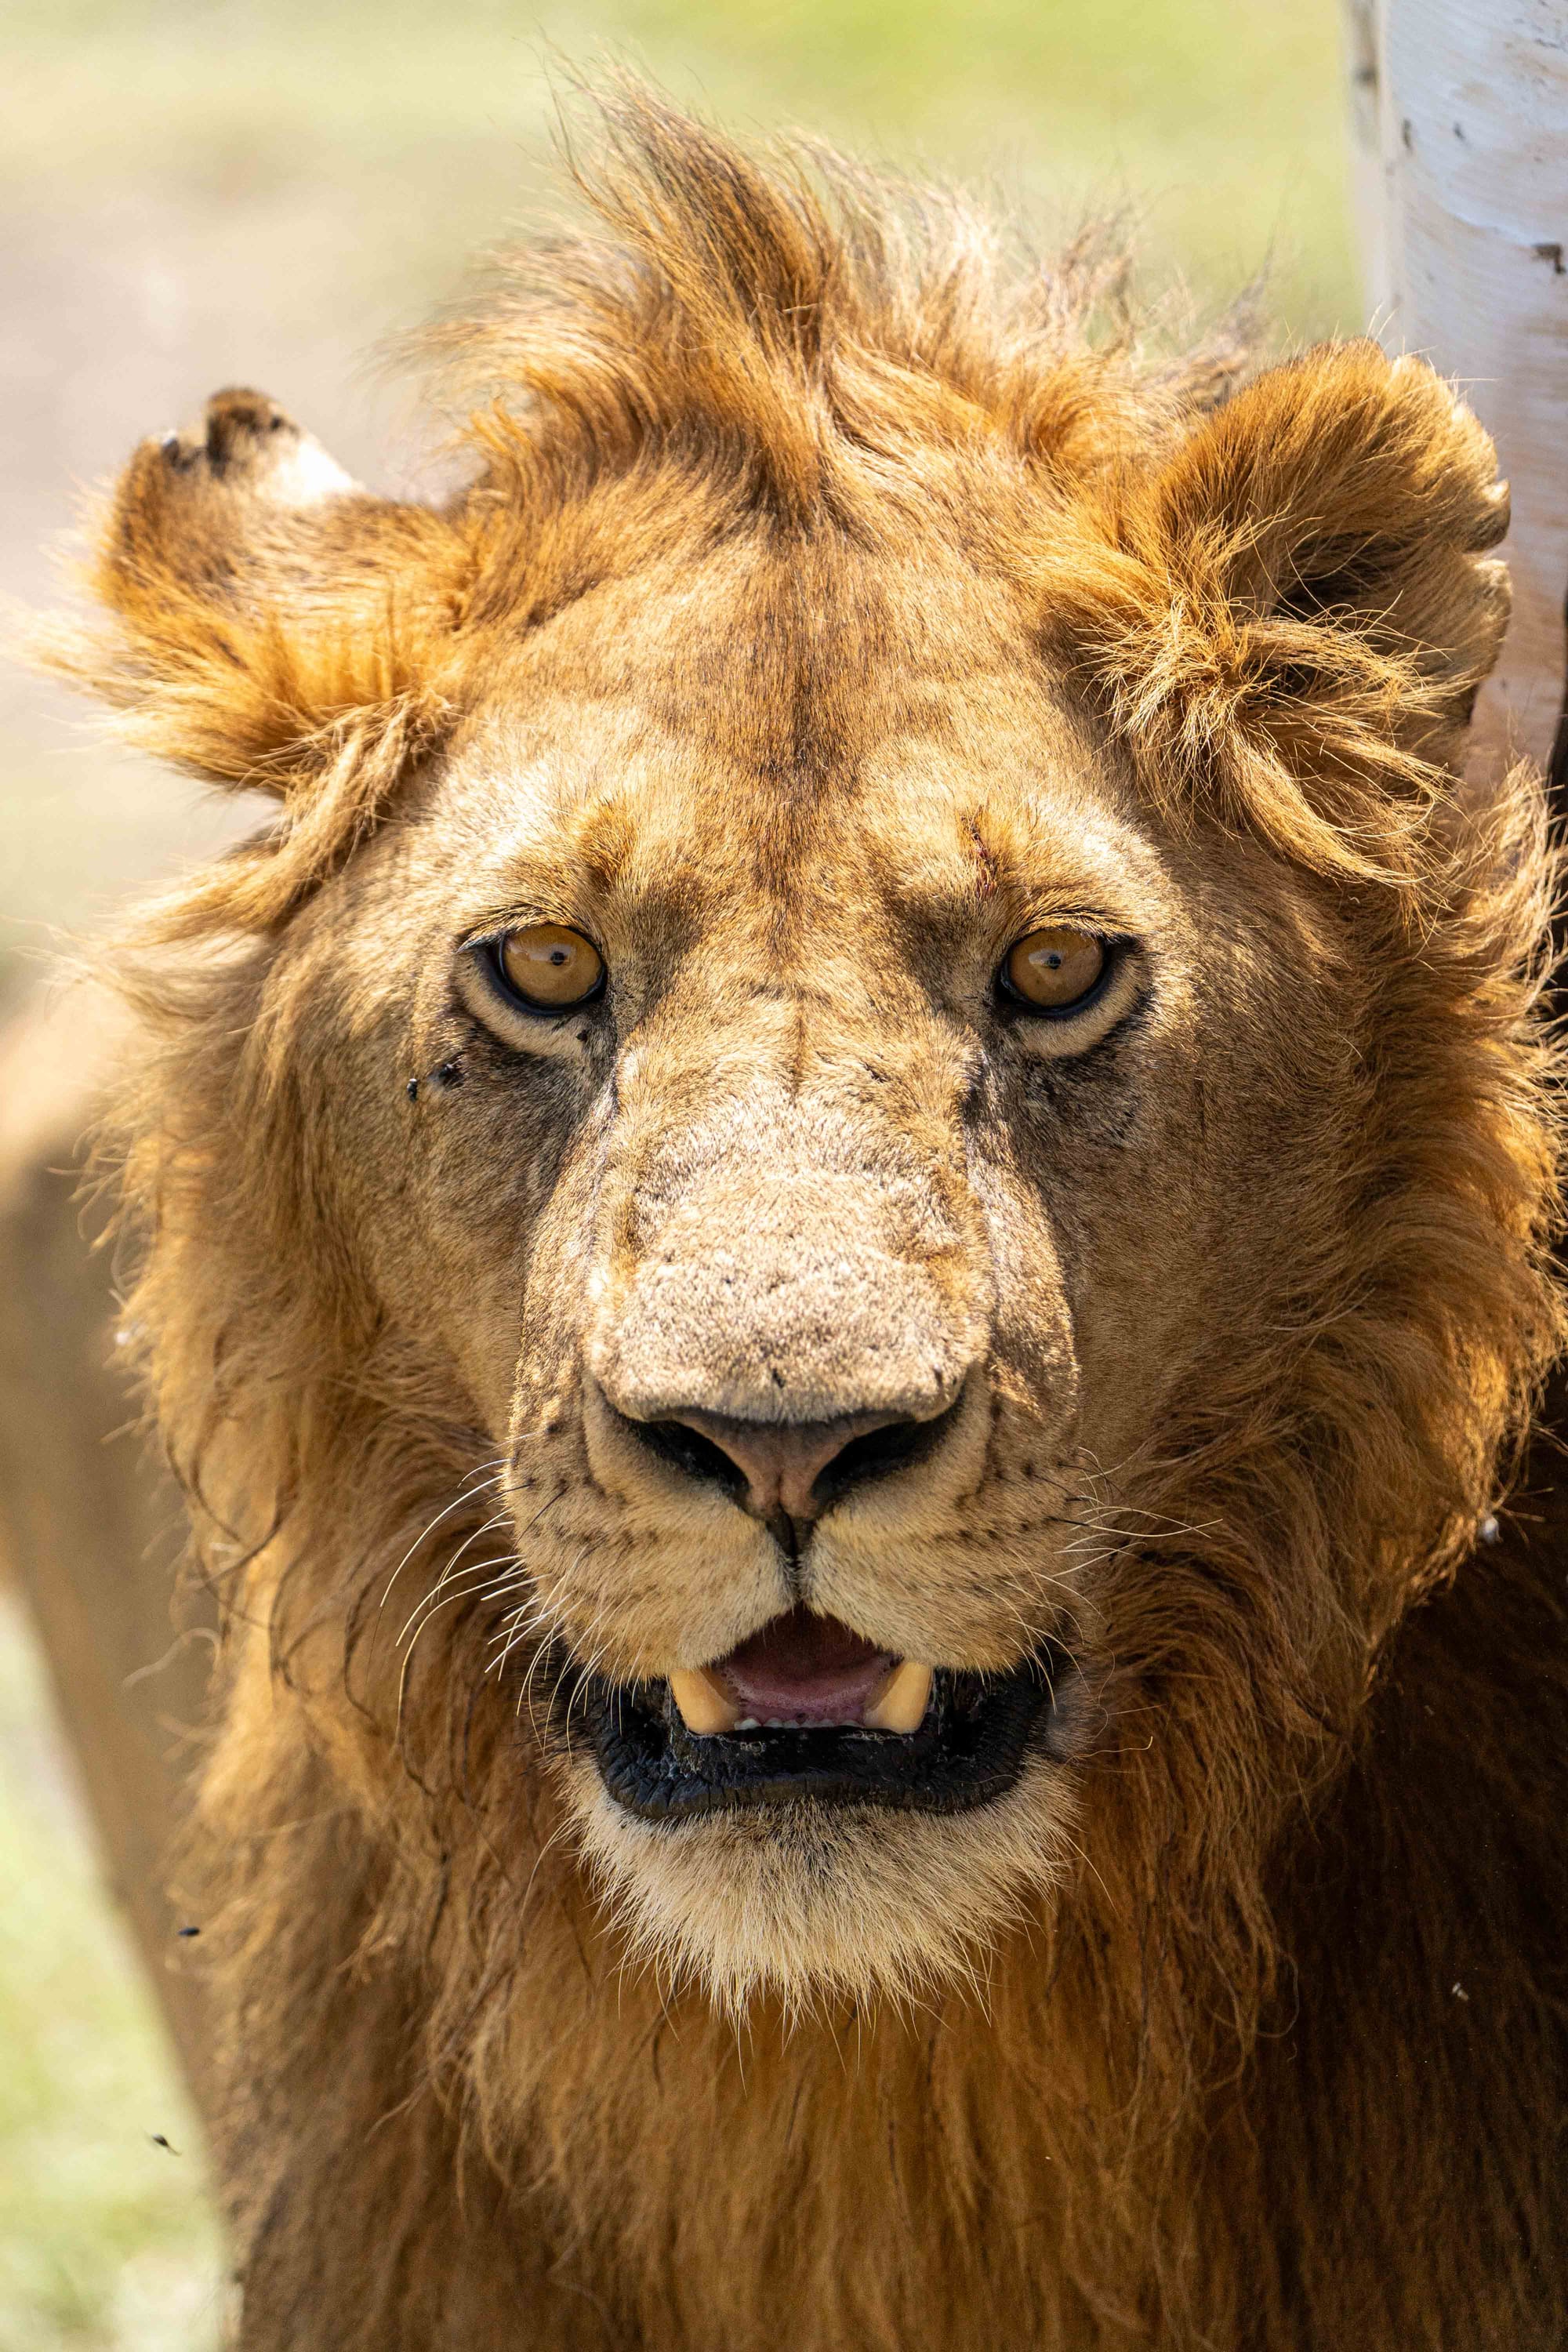
Take a look at a few of the photos in this blog post. Was it worth the effort? Tell us! And how do I share all these photos with friends and family now? Of course I use PictoMento for that too! Not just for weddings — for safari photos as well, I can create beautiful galleries with PictoMento and let friends share in the journey. Memories that last forever!